Space Design
10 Tips For a Photorealistic Render
Making a render photorealistic is every 3D artist’s ultimate goal. In every rendering process good lighting and materials are essential.
Here are 10 simple tips for creating photo realistic renders.
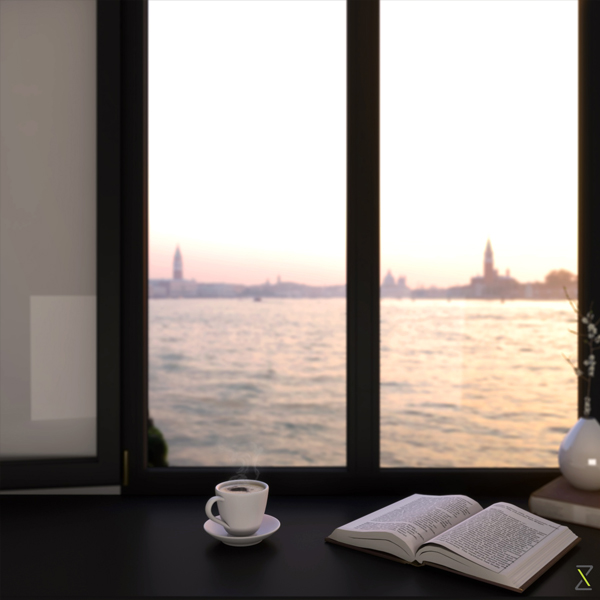
Begin with choosing a scene or inspiration and build the scene with the relevant models. The first step is to define your focal point – focal point means the function of the render – what function are you trying to show? In our example we are trying to show the function of the bay window as a potential reading and coffee drinking space, a time for reflection, respite, or to get lost in thought – so the objective of the render must clearly be defined from a functional standpoint.
Furthermore, you should spend time modelling objects carefully to achieve a realistic form, otherwise you will end up having an object that looks more like a toy.
1. Materials and Maps
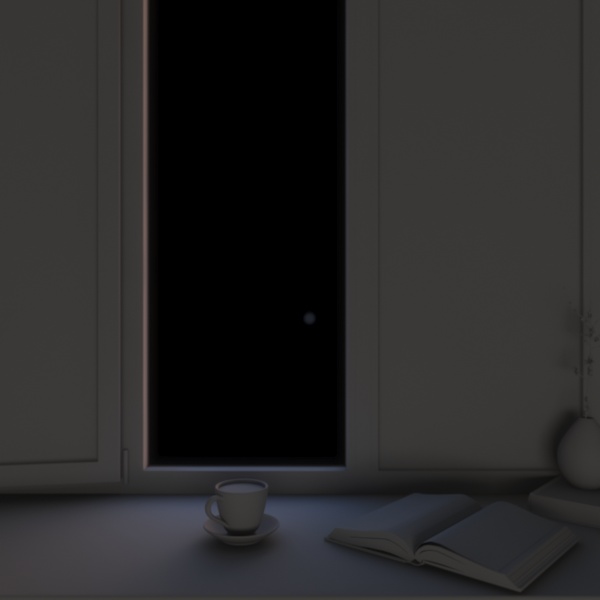
Material properties are very important in photorealistic rendering. Playing around with Reflection, Glossiness and Specularity of materials such as metal, wood or glass can make your render very realistic.
Make sure your textures are perfectly mapped and use reflection, bump and specular maps for the respective objects. For example, giving a bump, reflection and adding a specular map will create realistic properties for the wooden objects in your render.
2. Lighting
Always Use a 3-Point Light System – Key light, Fill light and Back light
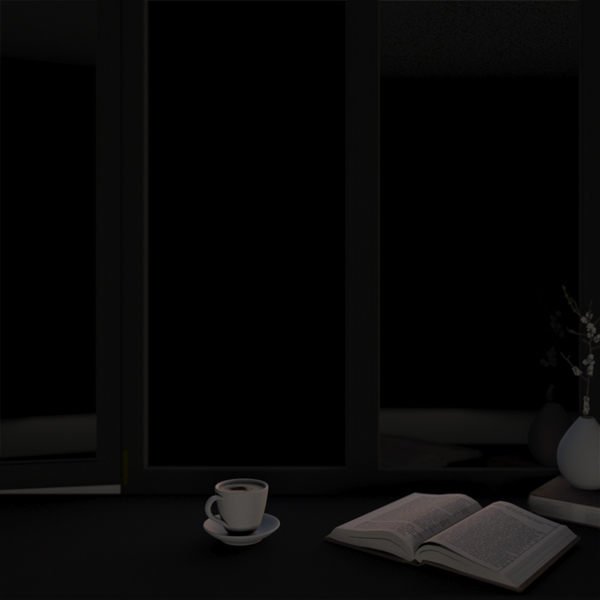
Key Light – This is the main light. It is usually the strongest and has the most influence on the look of the scene.
Fill Light – This is the secondary light and is placed on the opposite side of the key light. It is used to fill the shadows created by the key.
Back Light – The back light is placed behind the subject and lights it from the rear, rather than providing direct lighting (like the Key and Fill).
The above image shows only lighting elements activated.
3. Run Test Renderings at Low Quality to Save Time
High quality rendering will slow down your rendering time. So for testing purposes always opt for low quality rendering, until you get the required perfection in your render.
Don’t put all the lights in the scene on at one time; carefully add them one by one, depending on your scene. Set your render engine to a low resolution to give you a snapshot of the final output.
4. Use X-Ref
While working with huge scenes, divide the scene into different areas and save them individually in a different 3ds Max file to work on easily. Then bring them into a single file to render them all together at the end.
Working on X-Ref objects before bringing them into your main scene helps avoid losing render performance when the scene has lots of geometry. This saves a lot of time!
5. Use HDRI Maps
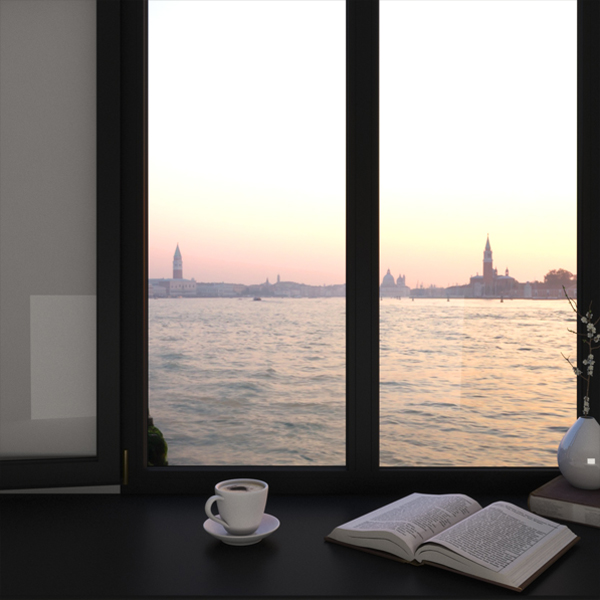
To create a realistic environment I use HDRI maps. This gives realistic material properties like reflection, refraction, specularity and light to your render. Once you select the HDRI map that best suits the scene, use it as your V-Ray environment map along with a V-Ray dome light for best practice.
In the image above, you can see how applying a realistic background, puts the scene in a realistic context by using HDRI maps.
6. Subdivision Value
Realism comes with soft shadows. Use good subdivision values for every light in the scene to create smooth shadows. You can find the subdivision value for lights, materials and GI in the settings. Typically, 32 is the average subdivision value that works best with lighting and global illumination.
7. Use Denoiser
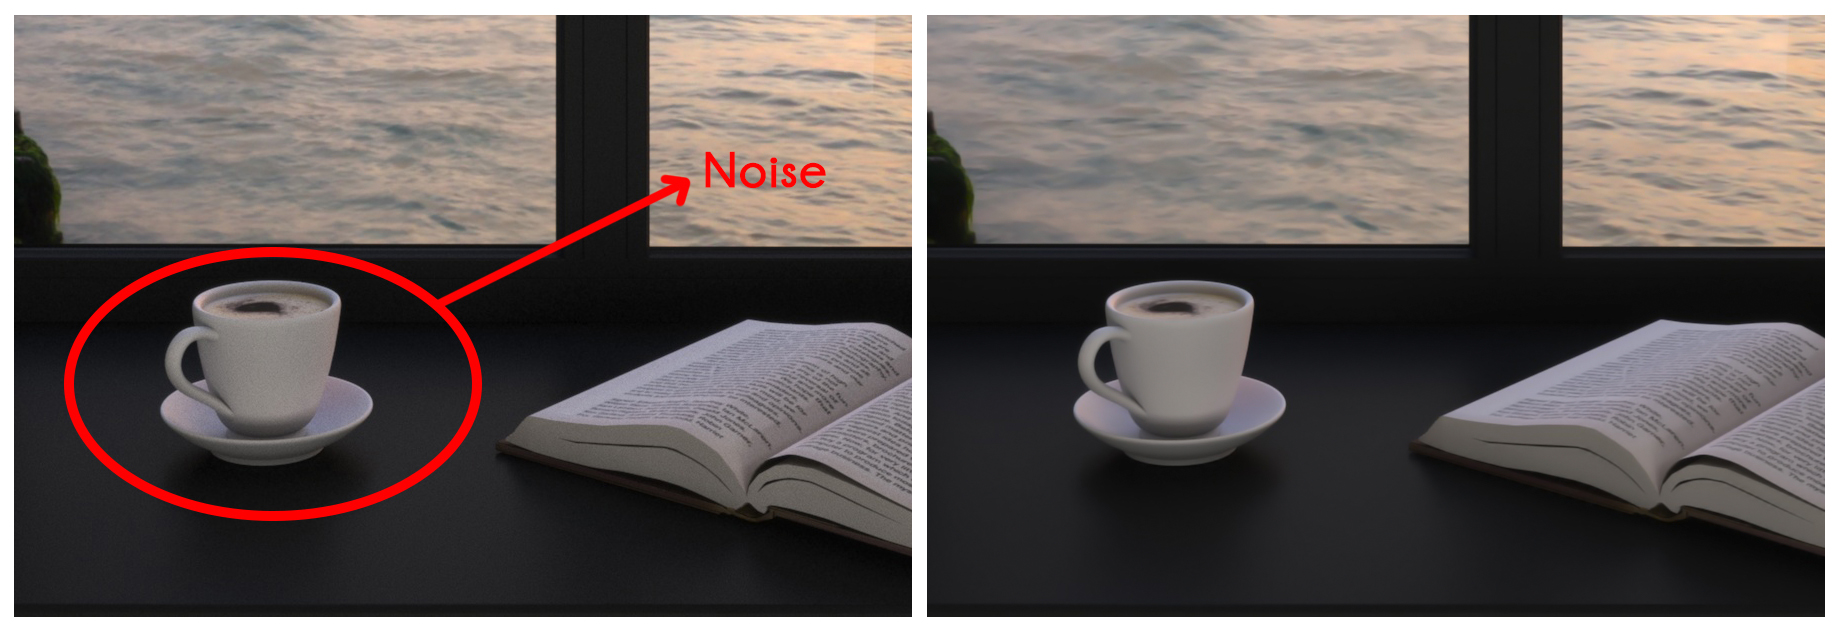
Denoiser can save a lot of rendering time. It reduces the noise in the render and helps smooth light and shadows. It brings realism in the render, because noise makes the render unrealistic.
It is really useful in closed room rendering, because you will find more noise in closed or dark interior rendering. Denoiser is a very powerful tool to reduce noise and creates a clean, smooth shadows in the render.
8. Use Depth of Field
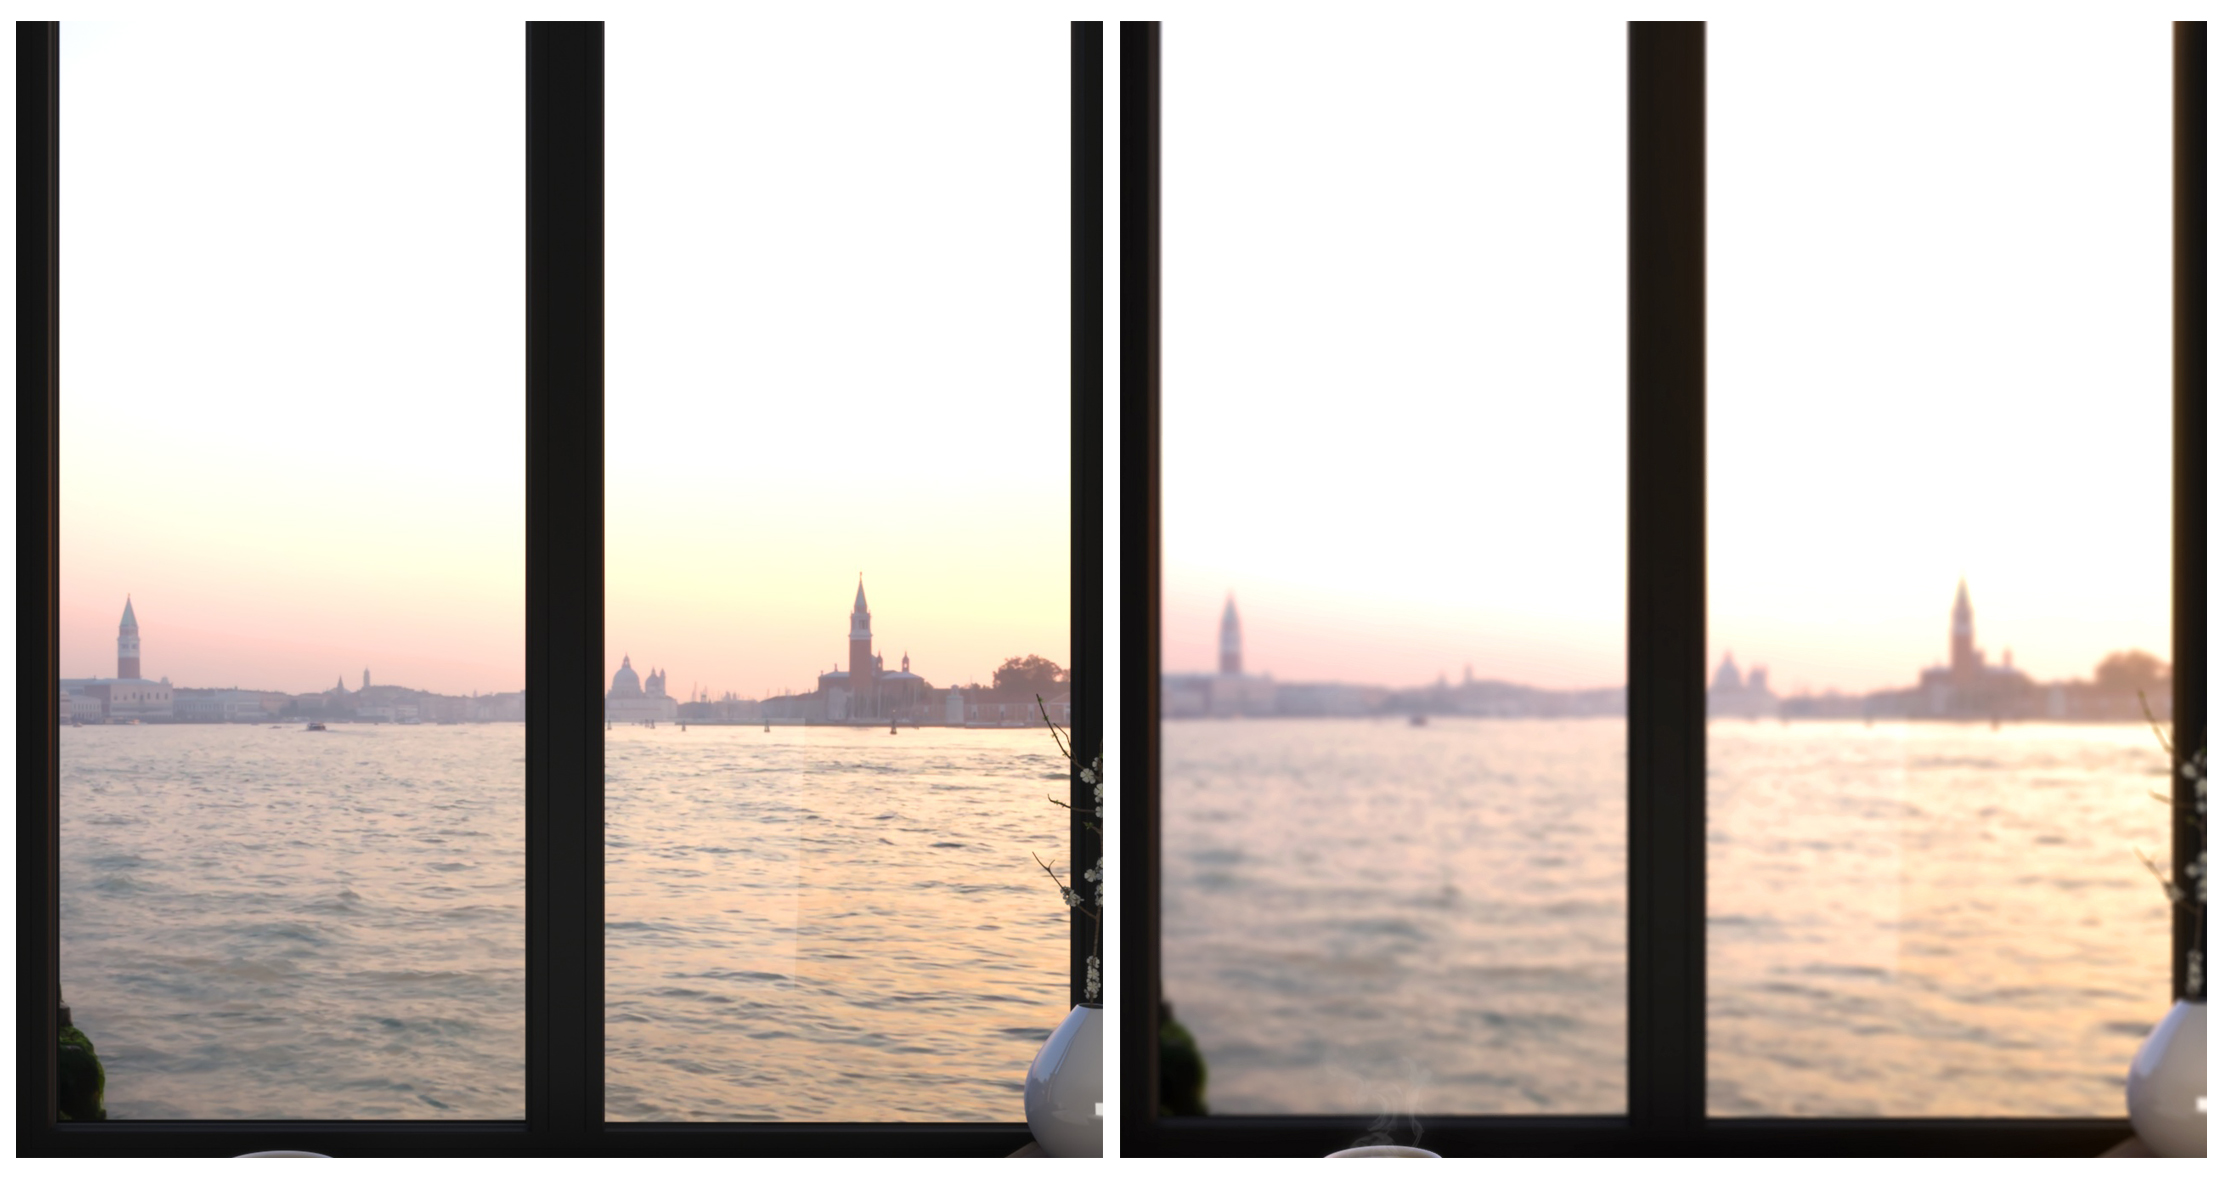
Depth of Field creates a fantastic camera effect. It allows you to create a focal point in your shot, called the Focal Plane. This enables a blurring effect on everything outside the Focal Plane, creating an image that looks photorealistic as seen above.
9. Use Vray Frame Buffer – (VFB)
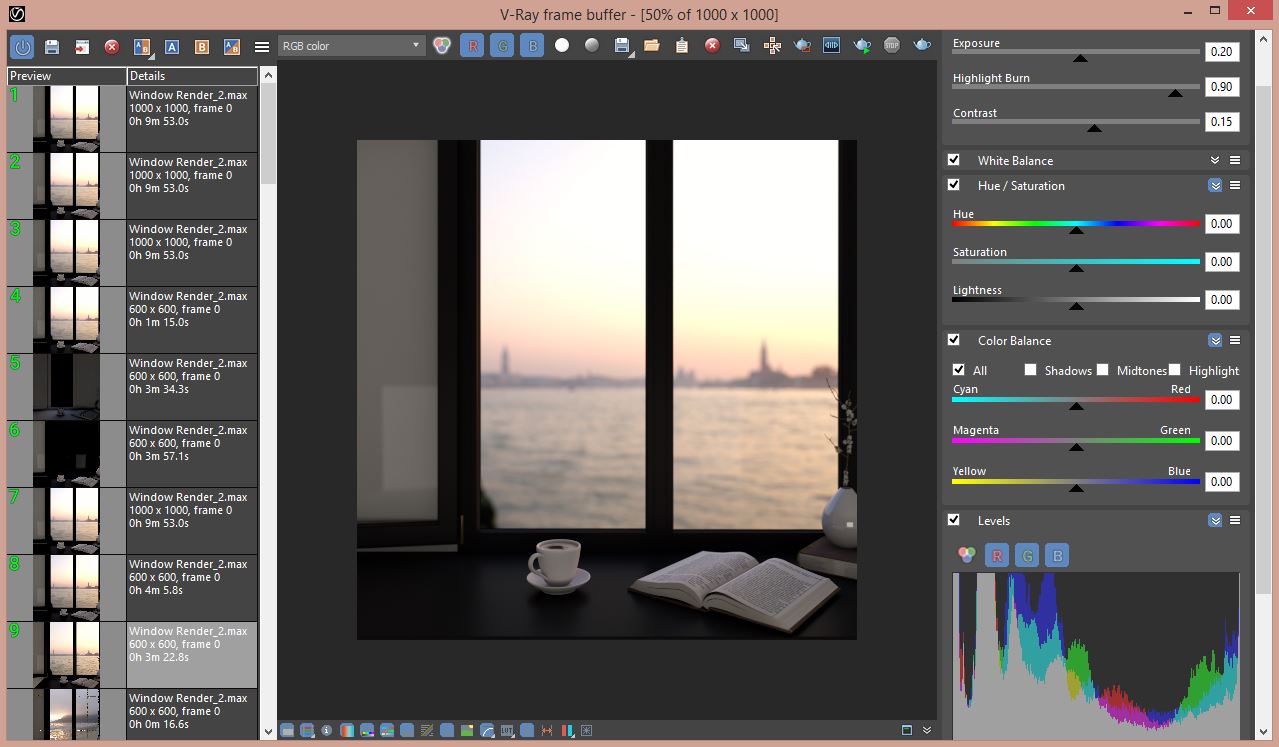
Vray Frame Buffer has very powerful features in it such as Rendering History, Colour Correction and Lense Effect, to name a few.
Rendering History, for instance, allows you to compare the current render with previous render to observe the changes you have made. This would include things like lighting, GI, Camera etc.
Colour Correction allows for small tweaking to enhance the realism in the render.
Lense Effect creates different opportunities to showcase your render.
10. Post-Production in Photoshop
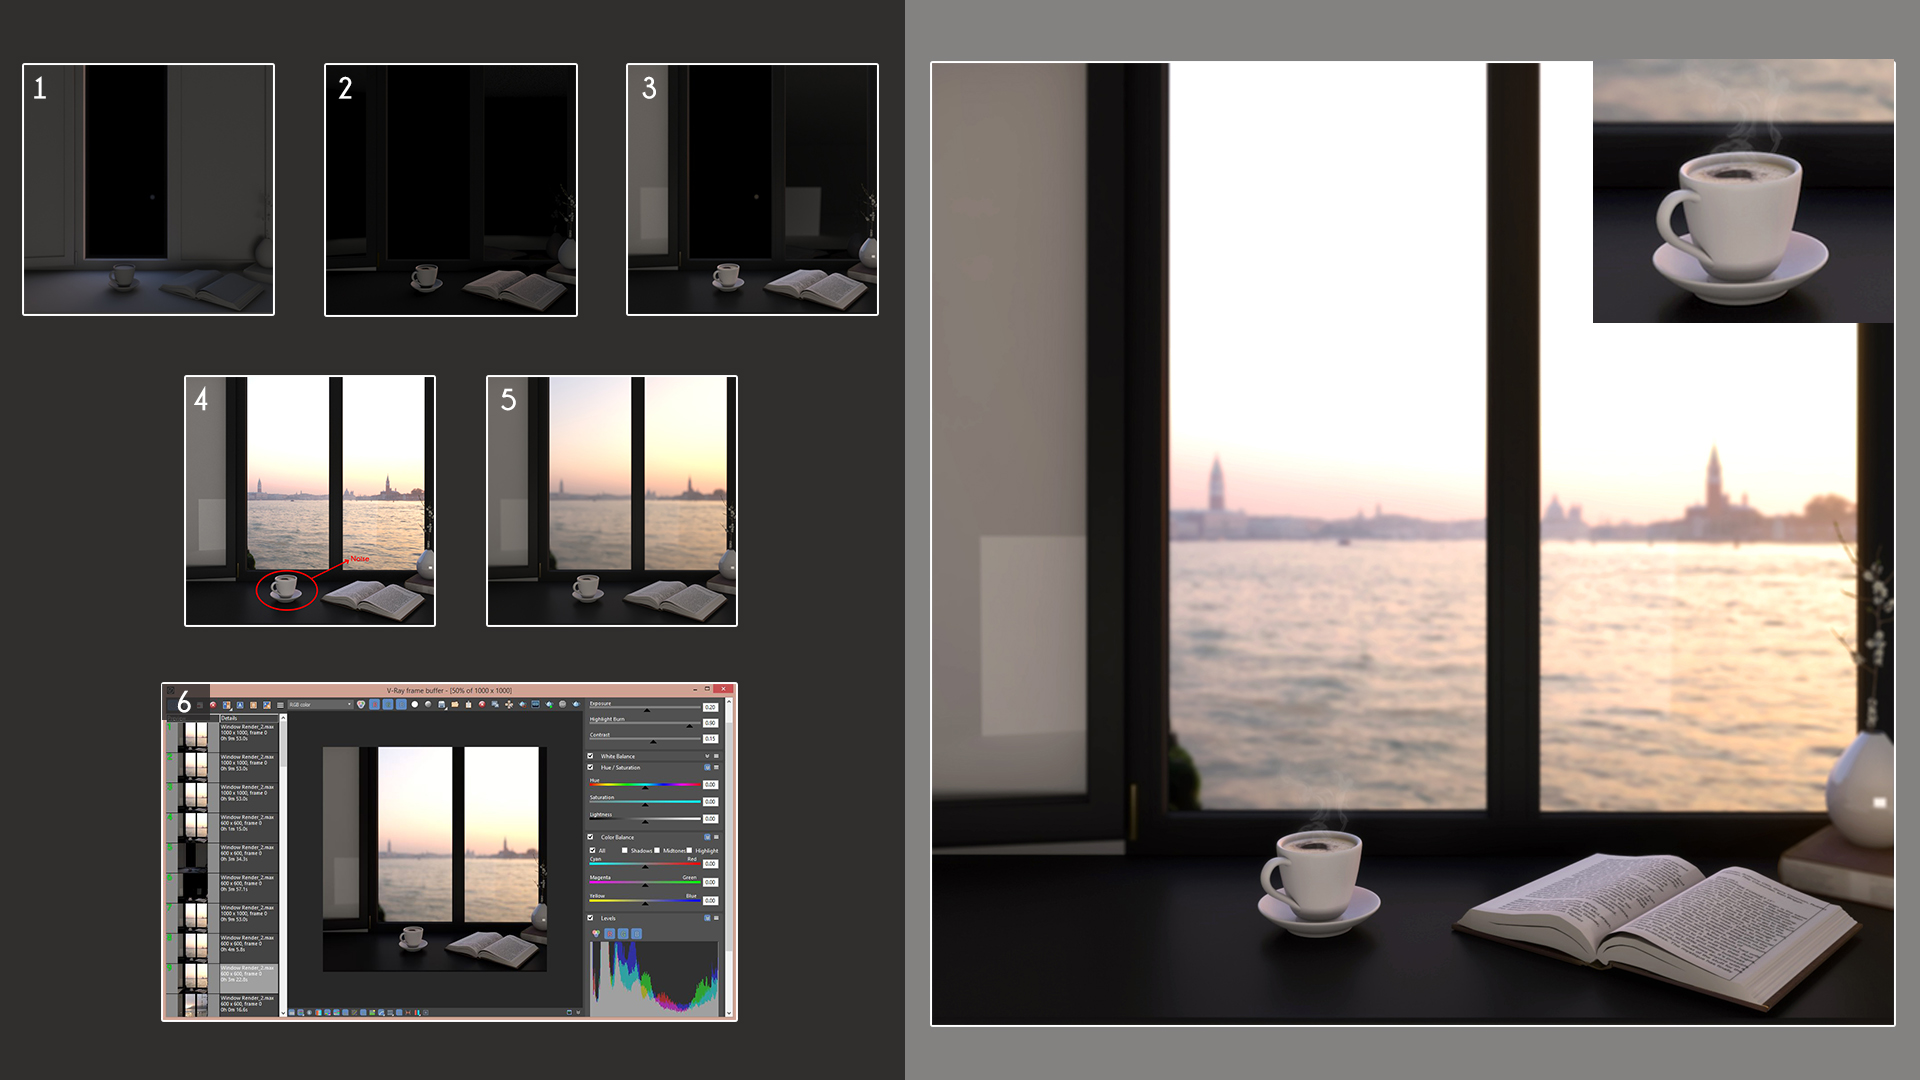
Post-Production is a very powerful tool to change the whole look and feel of the Render. It’s completely up to you to use it within the scene. For example, adding the Motion Blur and Lense Flare effects for dramatic feel, using Blending modes for texture, adding Smoke and Fire etc.
Certain things are either very difficult or very time consuming to pull off in 3Ds max. Adding these effects does them in a jiffy and can go a long way toward bringing an image to life.
Althaf Khan
3D Visualiser


