Your address will show here +12 34 56 78
Business Tips & How To's, Space Design

The journey of finding YOUR designer for your dream home or office space, starts with their portfolio. If their style speaks to you, that’s what is primarily going to draw you to work with them.


However, a beautiful design will remain not much more than that if the visualisation and the intent cannot be executed well; and let’s be honest – construction projects being completed on time and within budget is not something India is known for!


Today we’ll go over some points that you should keep in mind while choosing an architect, to ensure that your project execution is an enjoyable and memorable experience, not a nightmare you just can’t wait to wake up from!


Some of these points may seem insignificant, but in the long run, they really do matter! Here are 8 questions to ask yourself:


1. Does The Architect Use The Metric or Imperial System Of Measurement?


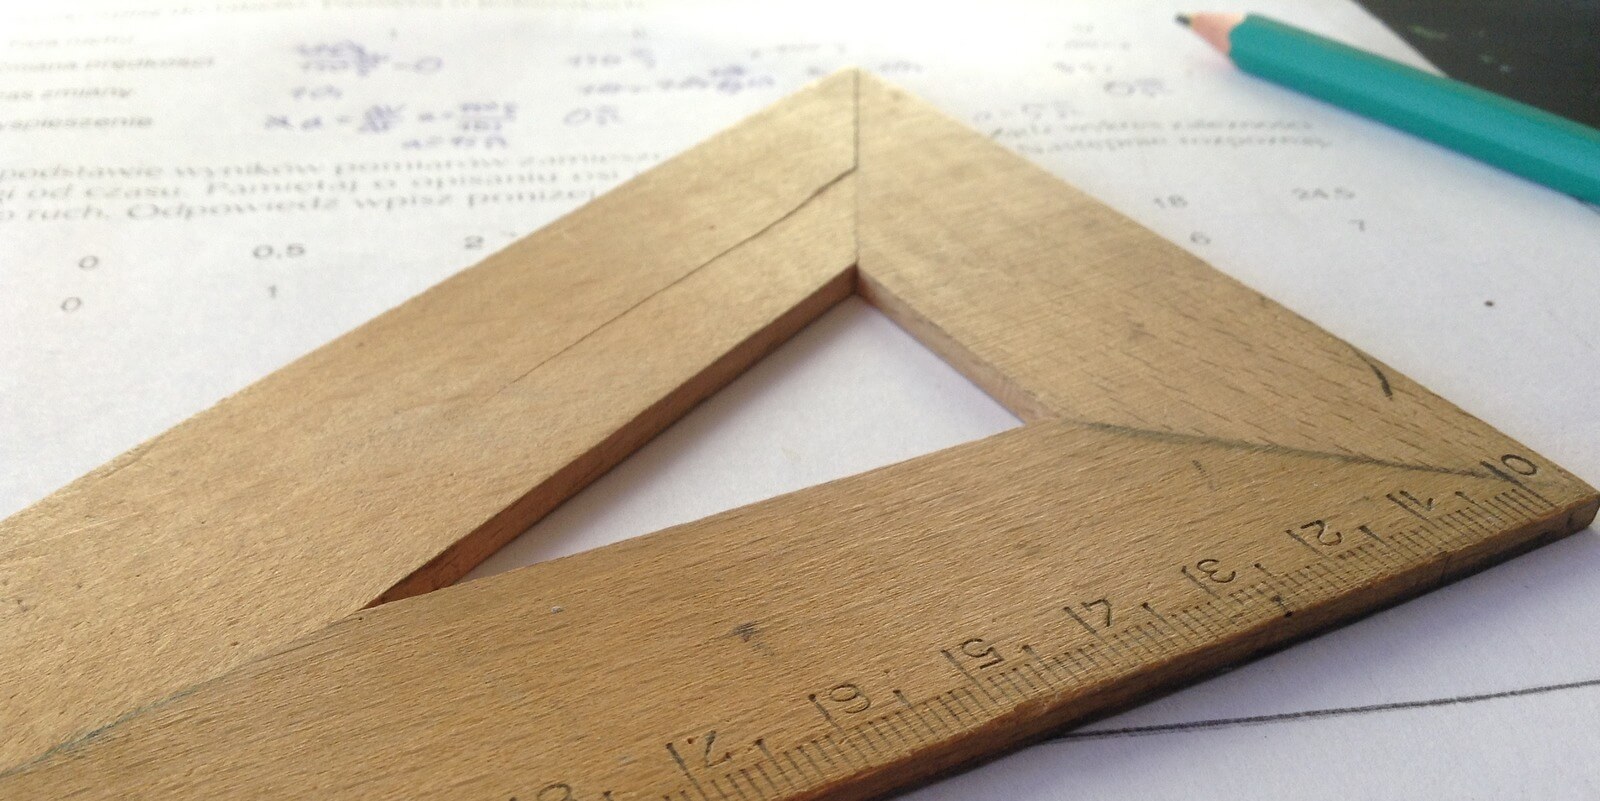
Keep in mind the age old adage “The devil is in the details”, and make sure your architect works in millimetres, not feet and inches. It might not seem like much, but having a room measured a couple of centimetres off can make a big difference to things like alignment, achieving straight lines and interior design measurements – many of these which you will discover only after the project is completed.


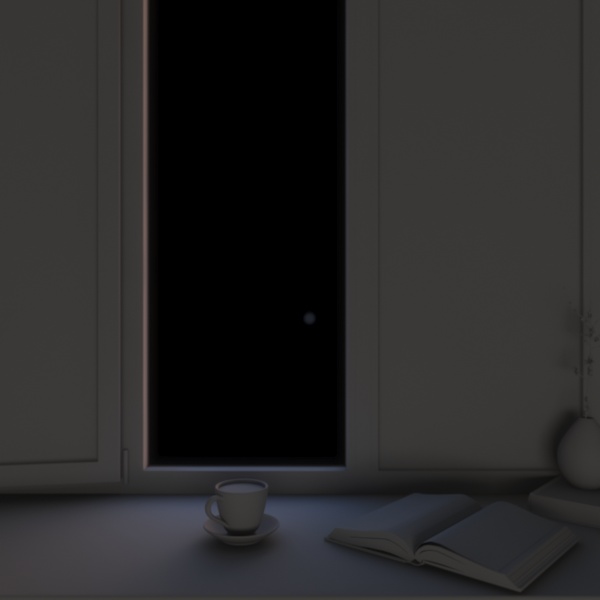
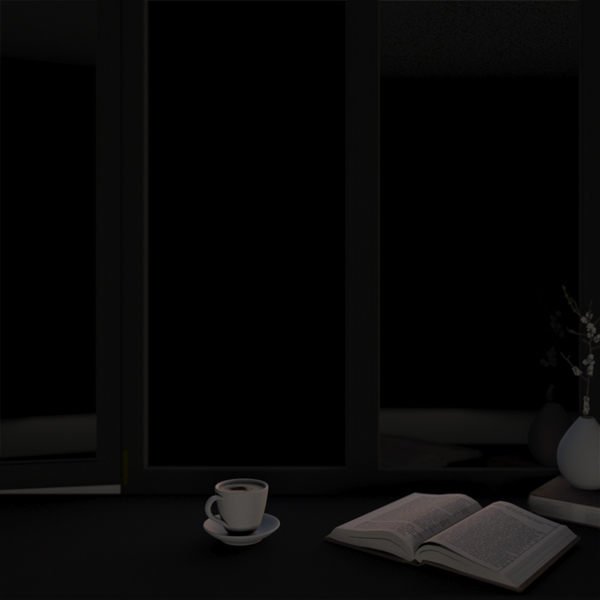
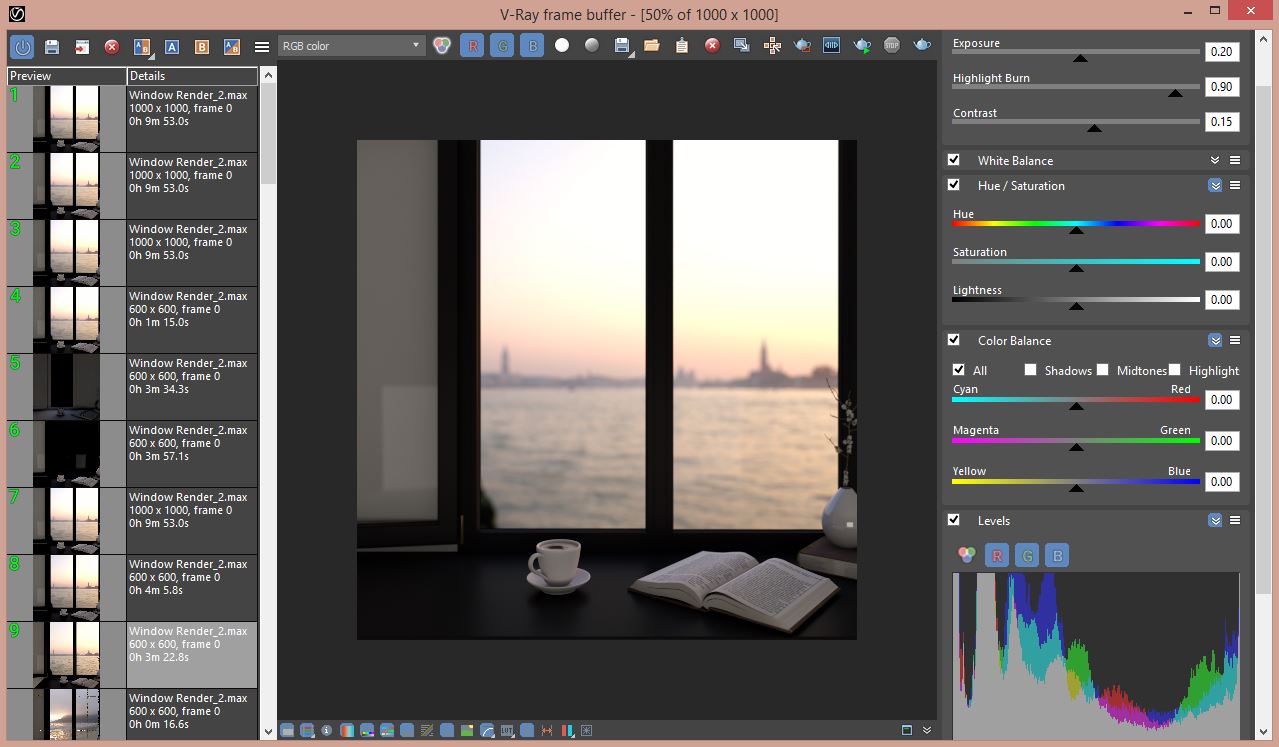
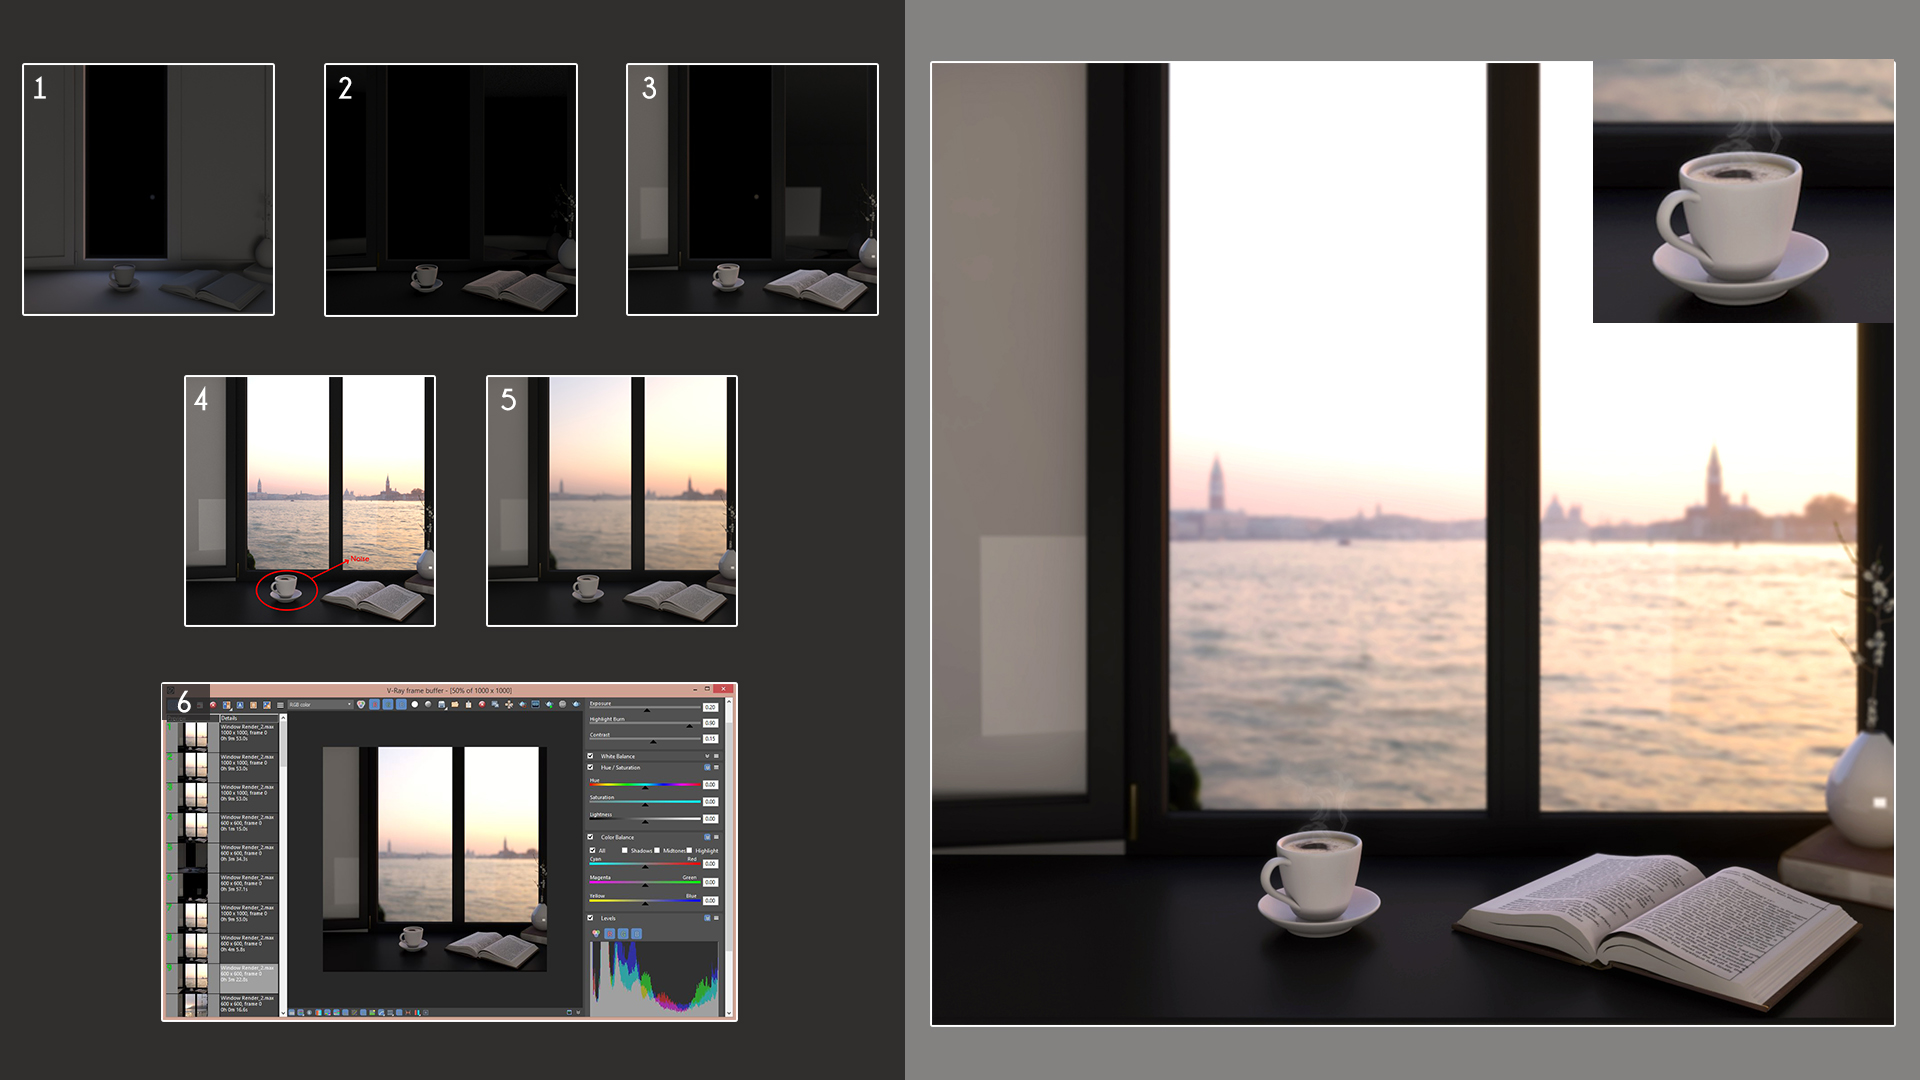
2. Will I Be Provided With High Quality Photorealistic Renders Before Actual Construction Begins?


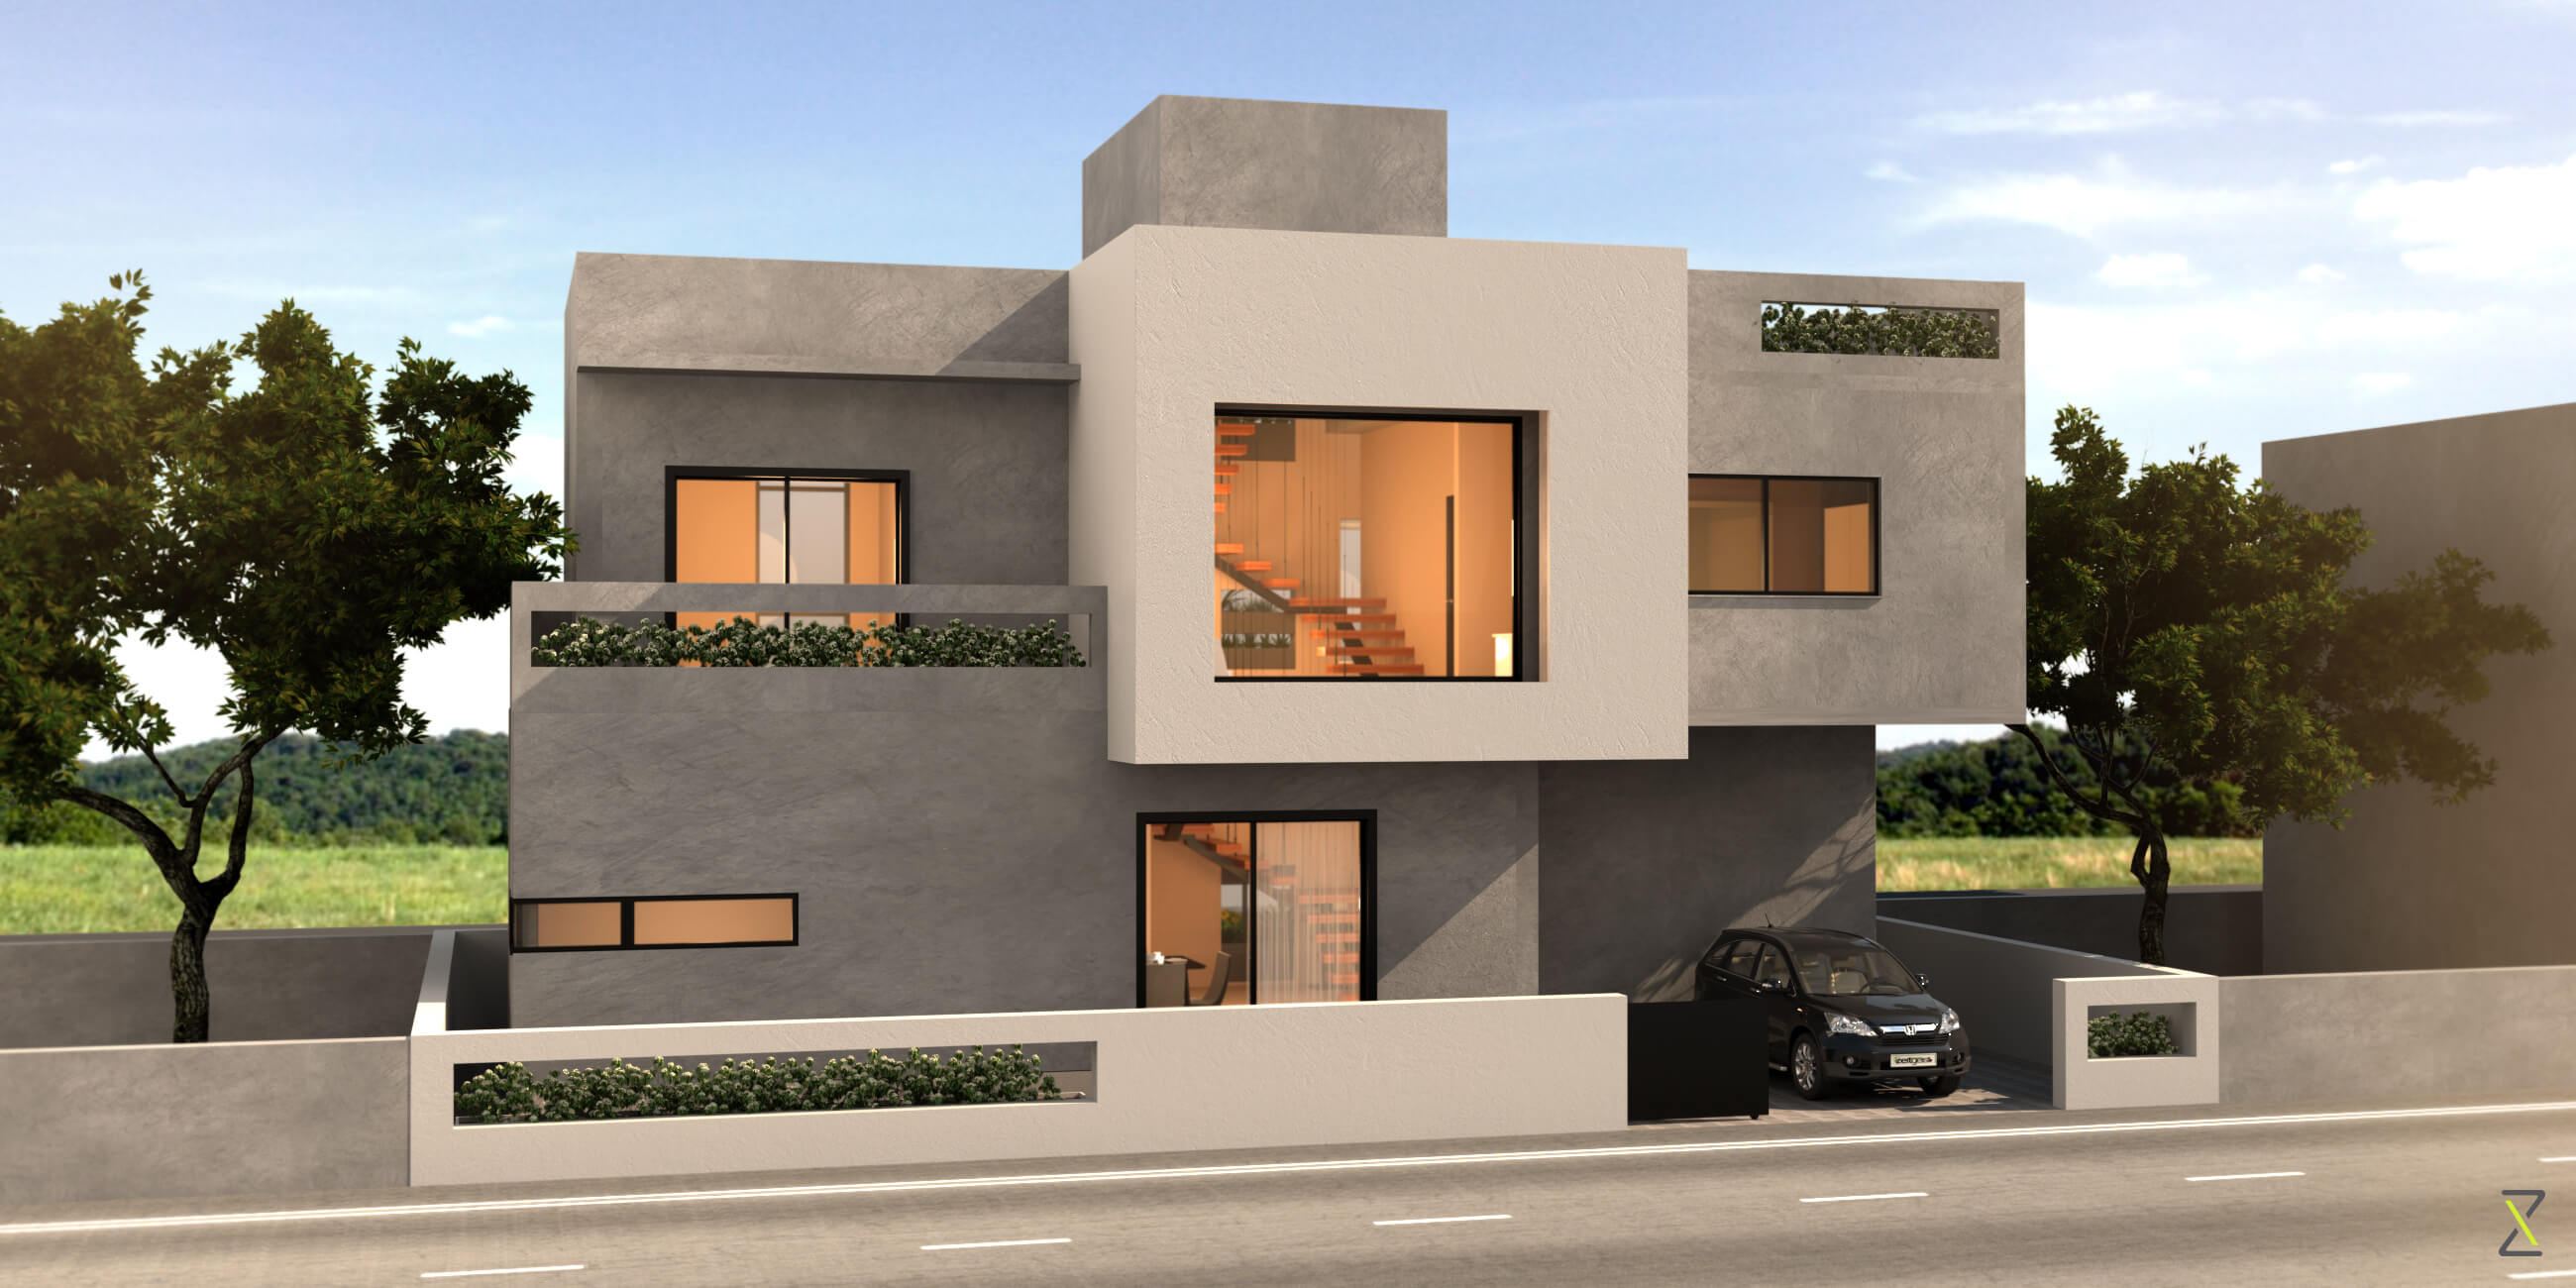
Some people believe that HD renders are a waste of money, but the reality is that they help you see exactly what the final project will look like. Investing at this conceptual stage can save you a lot of money, allowing you to make changes virtually, before laying a single stone. Making changes once something is built is far more costly, not to mention a waste of resources, time, and additional retainer fees.


3. Does The Architect Have A Good Working Relationship With A Reputed Contractor?


If your architect can recommend a contractor he has worked with on several projects, this is a major plus point. There can be many a slip between the cup and the lip when it comes to visualisation and actual execution. If an architect and a contractor have a demonstrably good working relationship, it can save you a lot of the headache that often accompanies being the middleman between the two!


4. Will I Have Access To Global, Tried And Tested Vendors?


A good architect and contractor duo should be able to give you as many options as possible when it comes to material and finishing, so that you are able to customise your space exactly the way you want it, within a budget that is comfortable for you.


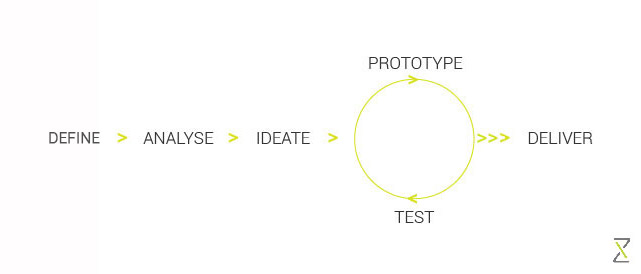
5. How Progressive Are The Architect’s Methodologies And In-house Technology?


It is important to understand the design flow of the architect. What are the key deliverables and milestones, how will they be presented to you, how well do they integrate your vision etc.? The last one is extremely vital to ensure that there is a balance between your architect’s vision and your own. Of course you are paying for it, but you are also hiring someone to create your vision, and you must believe in their professional expertise and the direction. However, it is essential that certain key aspects of your vision are translated to make it your home. Here, it is also important to understand the architect’s process of capturing your brief. If they understand you and nail this aspect, you are assured that you will get a refined translation of your vision.


Secondly, check what technology the architect uses to deliver the design. There are a lot of tools such as SketchUp, AutoCAD, ArchiCAD, and 3ds Max that are used at various stages to deliver various intents of the design communication. Advanced tools, such as Revit, that use BIM based platforms can provide a faster turnaround time in the design process, and overall, a more efficient and robust package.


6. What Are The Architect’s Ways Of Working?


The ways of working of an architect or architectural firm will tell you a lot about how methodical and diligent they are – an indication of the quality you can expect to see in your completed project. Do they have a client workshop to thoroughly understand the experience you desire from the space being developed? Are they transparent about costs and timelines? Do they pay attention to the entire programme mix that makes up a space’s experience? Will they provide a comprehensive BOQ, with not more than a 5% cost deviation?


7. How Busy Is The Architect?


Generally, large firms or popular architects are very busy or too costly. Do some digging around and find a boutique firm that offers a more personalised touch. While they might be expensive as well, as they tend to take on only a handful of projects a year, what you will get in return is that personal touch where the principal is involved at the site level, ensuring that there is an absolute vested interest in your project, and that passion and pride are truly driving the manifestation of your dream.


It is well worth it to spend some time delving a little deeper into the material laid out in these guidelines. You office or home space is a place you will be spending a considerable amount of time, so it is imperative that you find a design partner that is capable of delivering an experience just the way you envisioned it.


Zeitgeist offers a variety of design services, including space design, interior design, 3D visualisation and brand development – reach out to us today!


0

Business Tips & How To's

Once upon a time, you came up with an idea; an idea you just couldn’t let go of; an idea you believed had the potential to change lives through innovation.


After days, months and years of giving it all you have, it’s now finally time to make your case for why this labour of love of yours is worth it. We get it – it can be nerve wracking.


First, Relax. Take a deep breath and remember what led you to this point in the first place.


Next, here are a few tips that don’t tell you how to make a presentation or whether it should be a ppt, a video with Amitabh Bachchan reading the script or a simple verbal explanation of your idea – you are the best judge of that.


These tips instead offer a process to keep in mind – a process that could help you bring out the heart and soul behind your idea, highlight your commitment to the idea and showcase your ability to pull it all together.


Before you read on, there’s only one more thing left to say……Good Luck!


1. Imagine

Walk the journey in your mind over and over again. Know your story. With an investor you have 3 to 5 minutes. A compelling pitch must have an amazing opener – you have to believe you can change the world.


2. Practice, Practice, Practice

Confidence only comes when you repeat your key points over and over to yourself.


3. Use Tools That Are Readily Available

Dont stress if you don’t know how to use crazy designer tools. Just a simple ppt will do. You’d be amazed at how much creativity you can draw out of it if your brand message is well defined. Remember, if you know what you are trying to communicate, you will be able to put the message across. Just give yourself enough time to visualize the journey.


4. Know Your Potential Investors

Do some research and ask around. Typically you’d look at presenting to 7-10 potential investors, before you decide to reevaluate your presentation. Look for things about your investors that might be interesting vis-à-vis industry – their personality, interests, risk appetite, corporate goals and reputation. Look for things that strike a chord with your business and can anchor down the relationship to things of common interest to drive the vision into the future together.


5. Be Honest

This is one of the most crucial elements of a good pitch and partnership. A seasoned investor will catch the ‘B.S.’ in a second. Relax. If you don’t know, you don’t know. There will always be more to discover


6. Know Your Numbers

An effective pitch is one where you leave your investors with little doubt. Of course he or she will be able to fill in the gaps, but that doesn’t show you in a very good light. Make sure you know your model, its assumptions and future projections inside out.


7. Stay Authentic

It’s easy to get carried away with your ego in the crossfire. Don’t let fear sway you. Be prepared to learn with humility, and always – stay true to your story.


Madhuri Rao
Founder & Chief – Design Strategy


0

Space Design

Making a render photorealistic is every 3D artist’s ultimate goal. In every rendering process good lighting and materials are essential.
Here are 10 simple tips for creating photo realistic renders.


Begin with choosing a scene or inspiration and build the scene with the relevant models. The first step is to define your focal point – focal point means the function of the render – what function are you trying to show? In our example we are trying to show the function of the bay window as a potential reading and coffee drinking space, a time for reflection, respite, or to get lost in thought – so the objective of the render must clearly be defined from a functional standpoint.

Furthermore, you should spend time modelling objects carefully to achieve a realistic form, otherwise you will end up having an object that looks more like a toy.


1. Materials and Maps

Material properties are very important in photorealistic rendering. Playing around with Reflection, Glossiness and Specularity of materials such as metal, wood or glass can make your render very realistic.

Make sure your textures are perfectly mapped and use reflection, bump and specular maps for the respective objects. For example, giving a bump, reflection and adding a specular map will create realistic properties for the wooden objects in your render.


2. Lighting

Always Use a 3-Point Light System – Key light, Fill light and Back light


Key Light – This is the main light. It is usually the strongest and has the most influence on the look of the scene.
Fill Light – This is the secondary light and is placed on the opposite side of the key light. It is used to fill the shadows created by the key.
Back Light – The back light is placed behind the subject and lights it from the rear, rather than providing direct lighting (like the Key and Fill).
The above image shows only lighting elements activated.


3. Run Test Renderings at Low Quality to Save Time

High quality rendering will slow down your rendering time. So for testing purposes always opt for low quality rendering, until you get the required perfection in your render.

Don’t put all the lights in the scene on at one time; carefully add them one by one, depending on your scene. Set your render engine to a low resolution to give you a snapshot of the final output.


4. Use X-Ref

While working with huge scenes, divide the scene into different areas and save them individually in a different 3ds Max file to work on easily. Then bring them into a single file to render them all together at the end.
Working on X-Ref objects before bringing them into your main scene helps avoid losing render performance when the scene has lots of geometry. This saves a lot of time!


5. Use HDRI Maps


To create a realistic environment I use HDRI maps. This gives realistic material properties like reflection, refraction, specularity and light to your render. Once you select the HDRI map that best suits the scene, use it as your V-Ray environment map along with a V-Ray dome light for best practice.

In the image above, you can see how applying a realistic background, puts the scene in a realistic context by using HDRI maps.


6. Subdivision Value

Realism comes with soft shadows. Use good subdivision values for every light in the scene to create smooth shadows. You can find the subdivision value for lights, materials and GI in the settings. Typically, 32 is the average subdivision value that works best with lighting and global illumination.


7. Use Denoiser


Denoiser can save a lot of rendering time. It reduces the noise in the render and helps smooth light and shadows. It brings realism in the render, because noise makes the render unrealistic.

It is really useful in closed room rendering, because you will find more noise in closed or dark interior rendering. Denoiser is a very powerful tool to reduce noise and creates a clean, smooth shadows in the render.


8. Use Depth of Field


Depth of Field creates a fantastic camera effect. It allows you to create a focal point in your shot, called the Focal Plane. This enables a blurring effect on everything outside the Focal Plane, creating an image that looks photorealistic as seen above.


9. Use Vray Frame Buffer – (VFB)


Vray Frame Buffer has very powerful features in it such as Rendering History, Colour Correction and Lense Effect, to name a few.

Rendering History, for instance, allows you to compare the current render with previous render to observe the changes you have made. This would include things like lighting, GI, Camera etc.
Colour Correction allows for small tweaking to enhance the realism in the render.
Lense Effect creates different opportunities to showcase your render.


10. Post-Production in Photoshop


Post-Production is a very powerful tool to change the whole look and feel of the Render. It’s completely up to you to use it within the scene. For example, adding the Motion Blur and Lense Flare effects for dramatic feel, using Blending modes for texture, adding Smoke and Fire etc.

Certain things are either very difficult or very time consuming to pull off in 3Ds max. Adding these effects does them in a jiffy and can go a long way toward bringing an image to life.


Althaf Khan
3D Visualiser


0

Business Tips & How To's, Design Strategy


Step – 1: Identify The Problem


To have an anchor to the process you need to begin with identifying the problem and defining it well. Often problems exist and are entangled in a larger web of co-dependent issues that need resolving also, for the problem to be resolved. When a problem statement is well defined, the rest falls into place.

Imagine a tangled ball of yarn. Step one is about loosening all the knots and tangles and straightening out the fibre to see it clearly from beginning to end.


Step – 2: Use Both Sides of Your Brain

Design thinking is about using both sides of the brain – logical and creative, simultaneously.


It is also about being able to critically observe one’s own process and consciously switch from a rational and structured way of thinking to an emotive and intuitive approach as and when required.


Step – 3: Keep The Big Picture In Mind

While distinguishing all parts of the problem and attacking them individually is the key, it is also important to zoom out every now and then to look at the general overarching problem and to make sure that the bigger picture is not being lost.


Step – 4: Be Ready To Adapt

In a tight time-resource equation, things don’t often work out as expected. This is when being level headed and adaptable – in order to find the most feasible solution – becomes a design thinker’s most valuable quality.  Stay hungry for a solution and you will find it.


In a nutshell, this is what the overall process of solving a problem using design thinking looks like:


0